Hosting Static Next.js Apps on CloudFlare Pages
A couple of months ago, my family and I took a leap and moved to Montreal. With a fresh start, I got this nagging feeling to dive back into writing. Looking at my website, it was clear that just like us, it needed a new home.
My old website was built with Nuxt and hosted on Firebase
Recently, I've dipped my toes into the Next.js pool, and I figured, why not dive in? Just as I had a big move, so should the site. My old website was built with Nuxt and hosted on Firebase Hosting, and as it turns out, transitioning from Nuxt to Next.js wasn't that difficult. The hiccup? Finding a substitute for Nuxt Content.
Nuxt Content was more than just a way to write and organize content with Markdown — it doubled up as a mini-database. It was pretty handy to have around, especially with the ease of using Mongo-like syntax for querying articles. I thought about using headless CMSs like Prismic and Contentful, but they seemed like using a jackhammer when a simple hammer would do. I also stumbled upon Contentlayer. It had potential, but for my simple website, it didn't offer any extra oomph.
So, I decided to get my hands dirty. After all, it's just a simple website with a few articles. Plus, it was a fantastic opportunity to deepen my Next.js knowledge. Sure, there were challenges, and maybe I lost a few strands of hair, but the experience gained was invaluable.
So stay tuned! I'll be putting together a series of articles on how I revamped my website with Next.js. And, first on the list is how I hosted my Next.js site on CloudFlare Pages.
What's the Deal with CloudFlare Pages?
Cloudflare Pages is a fantastic hosting platform. It makes building and hosting Next.js applications a piece of cake. The best parts for me are its generous free tier, its hand in glove with CloudFlare's global CDN network, and seamless integration with GitHub and GitLab.
The Bare Necessities
On top of signing up for a CloudFlare account, you'll need to have a GitHub or GitLab account. You'll also need to have a Next.js application ready to be deployed. If you don't have one yet, you can follow the Next.js tutorial to get started.
I really wanted a fully static Next.js website and take advantage of CloudFlare's global CDN network. However, this means there will be some trade-offs. Features like Incremental Static Regeneration, will not be available.
To enable static exports, change the output mode in your next.config.js and disable image optimization file:
next.config.js
const nextConfig = {
  output: 'export',
  images: {
    unoptimized: true,
  },
}
The A-B-C's of Setting up CloudFlare Pages
Alright, time to set up Cloudflare Pages for your Next.js app, and it's truly as simple as it gets.
-
Log in to your Cloudflare account and head to the Workers & Pages section. Here click on "Create application".
-
On the "Create an application" page, stroll over to the "Pages" tab and click on "Connect to Git". At the time of this writing, Cloudflare Pages only supports GitHub and GitLab.
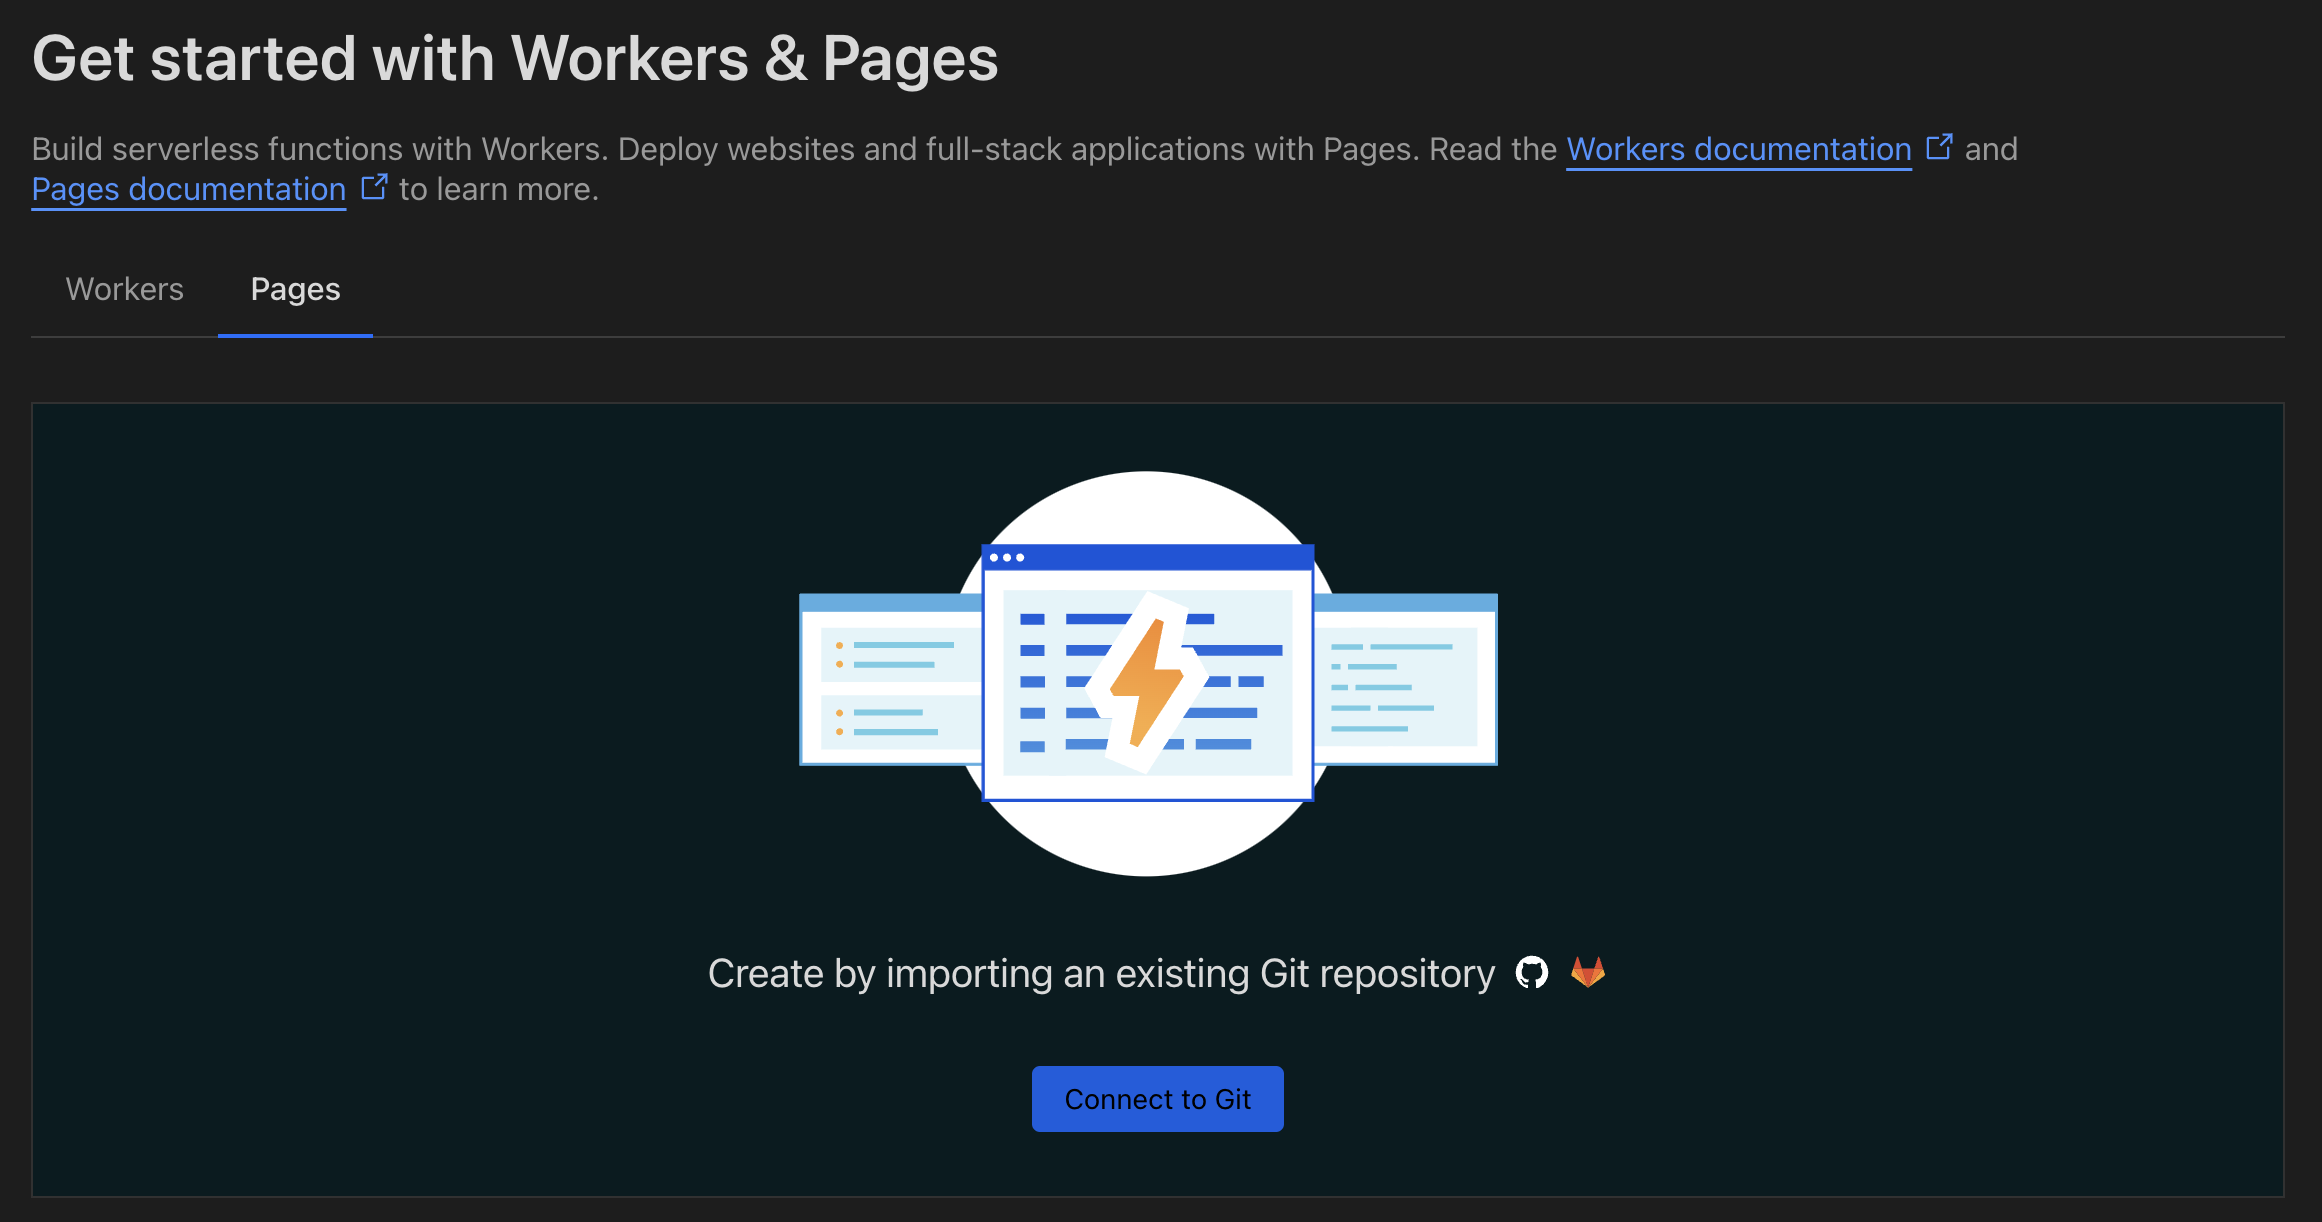
The Create an application page allows you to connect to your Git hosting service.
-
Connect your Git hosting service and make sure to give the CloudFlare Pages app the permissions it needs. You can also pick and choose the repositories you want to connect to Cloudflare Pages. Doing this will let CloudFlare Pages fetch your code and automatically build and deploy your Next.js application whenever changes are pushed into the repository.
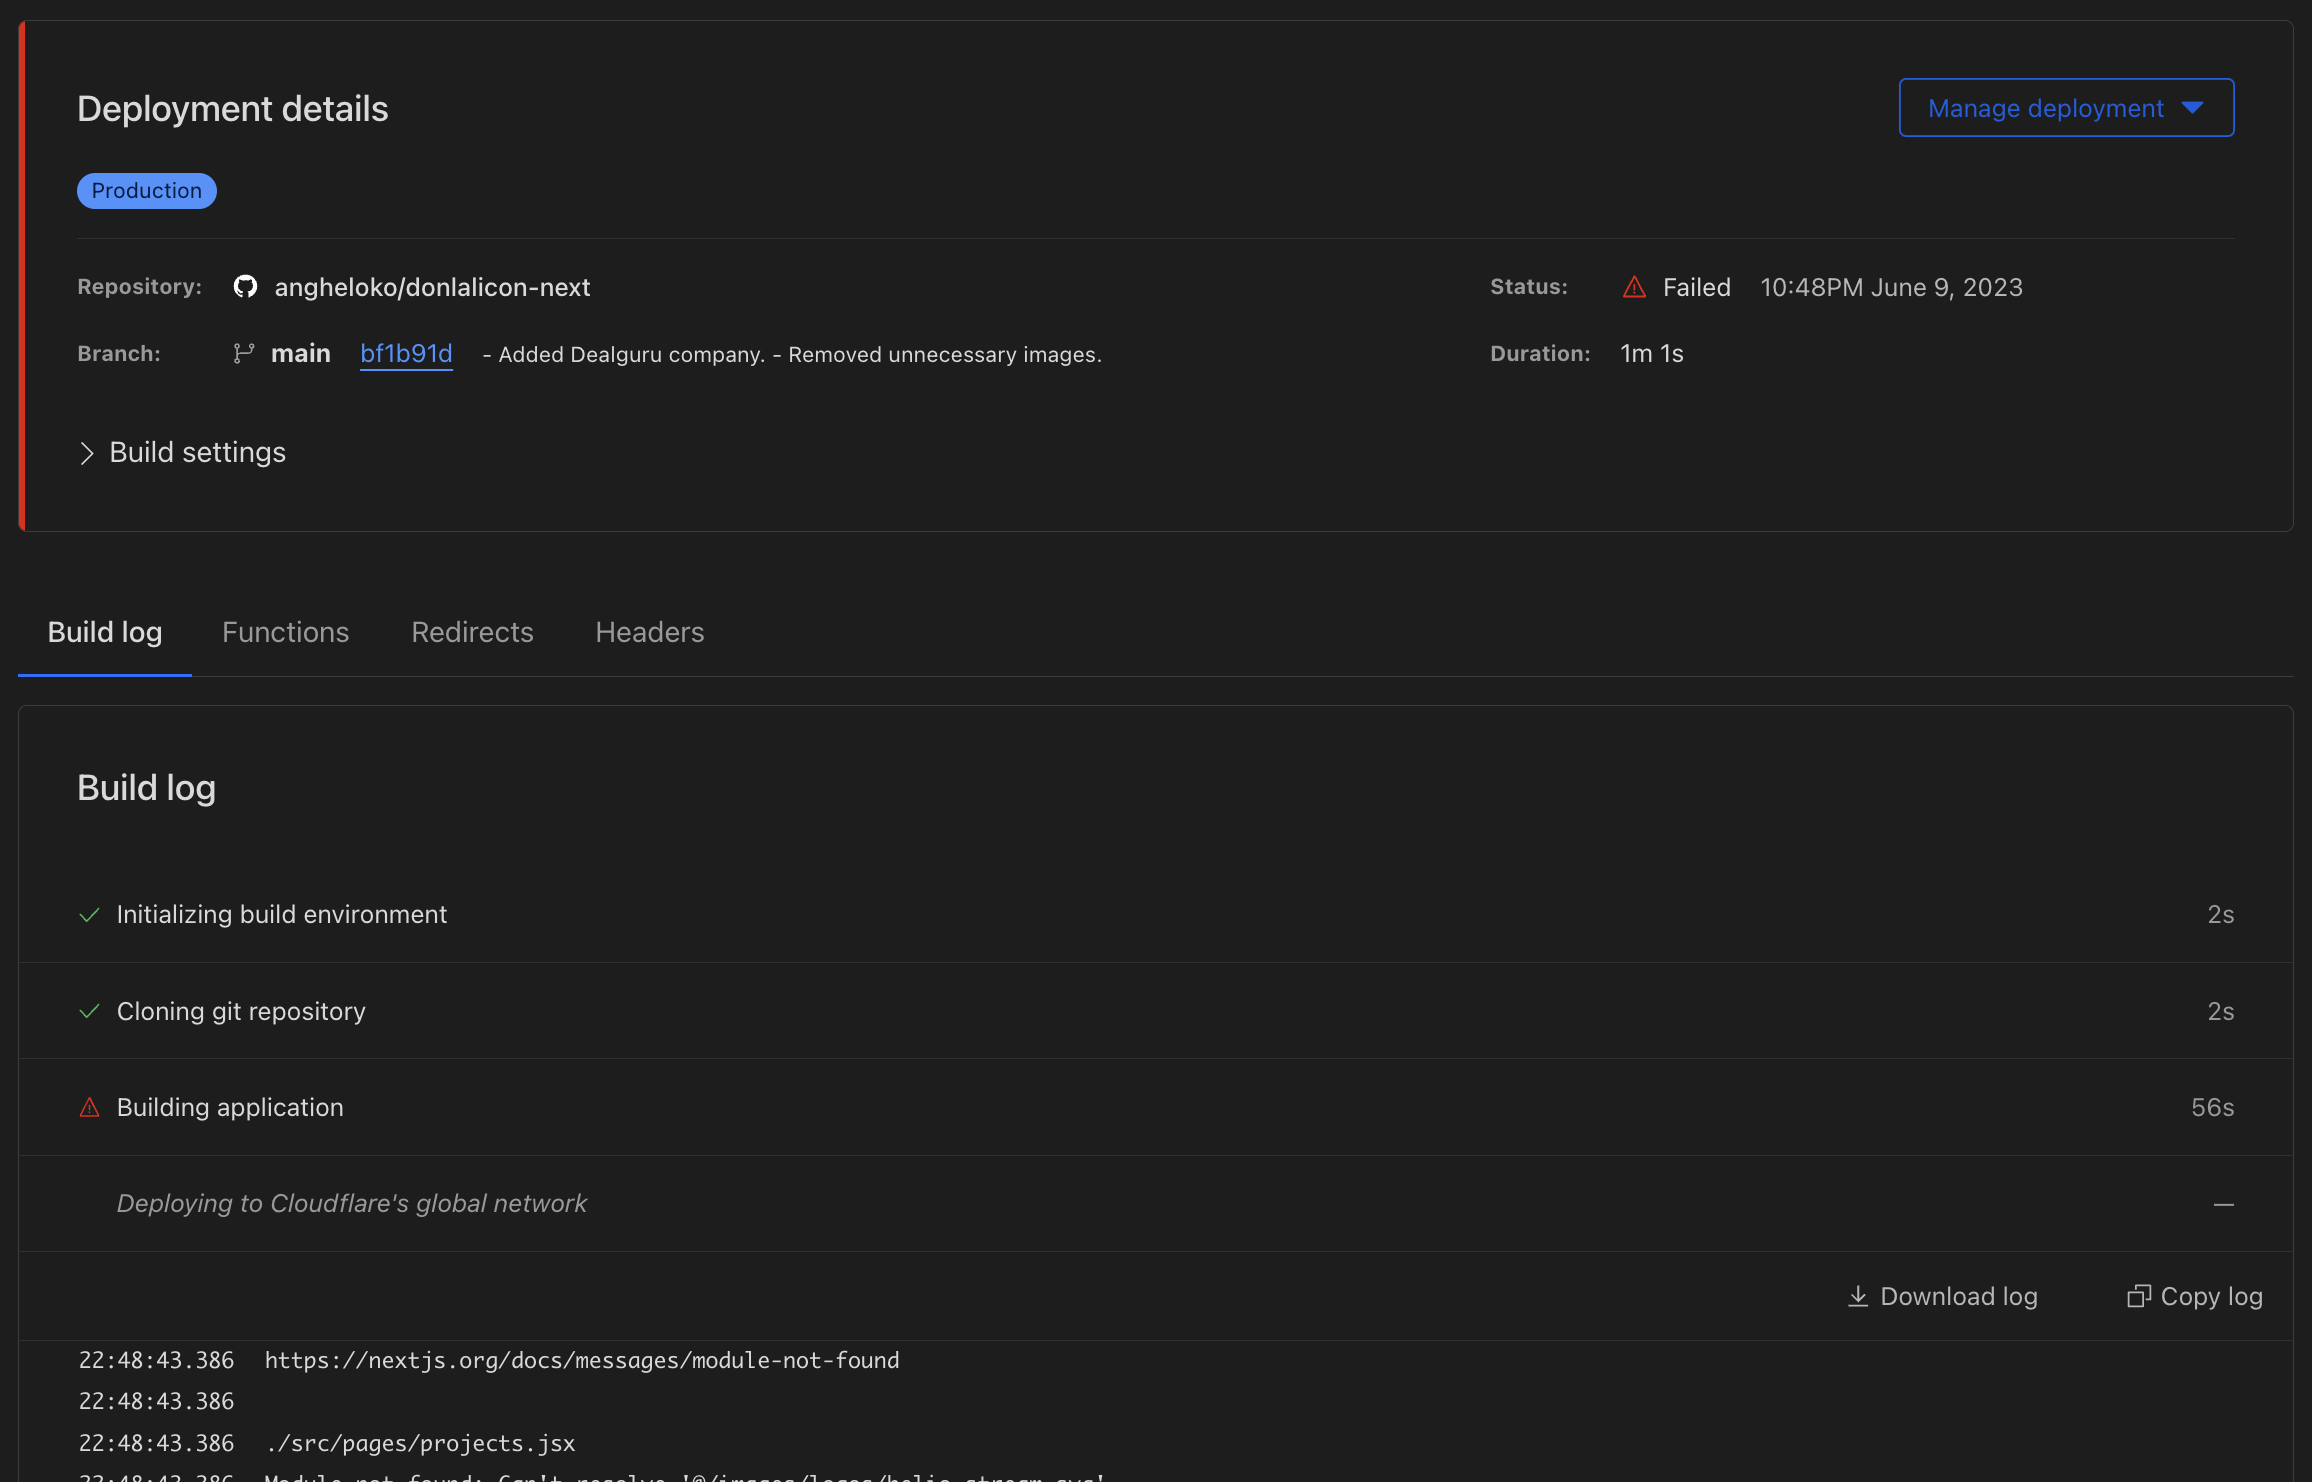
Build logs in the Cloudflare Pages dashboard.
-
CloudFlare Pages will try to analyze your repository and automatically detect the framework used (Next.js in our case). It'll even suggest a build command. You can tweak the build settings as needed. For me, I had to switch the build command to
npm run build.Cloudflare Pages offers flexible deployment options to suit your needs. For example, you can change the Production branch to a different branch or set environment variables.
You don't need to worry about making mistakes at this stage either. You can always change the settings later on.
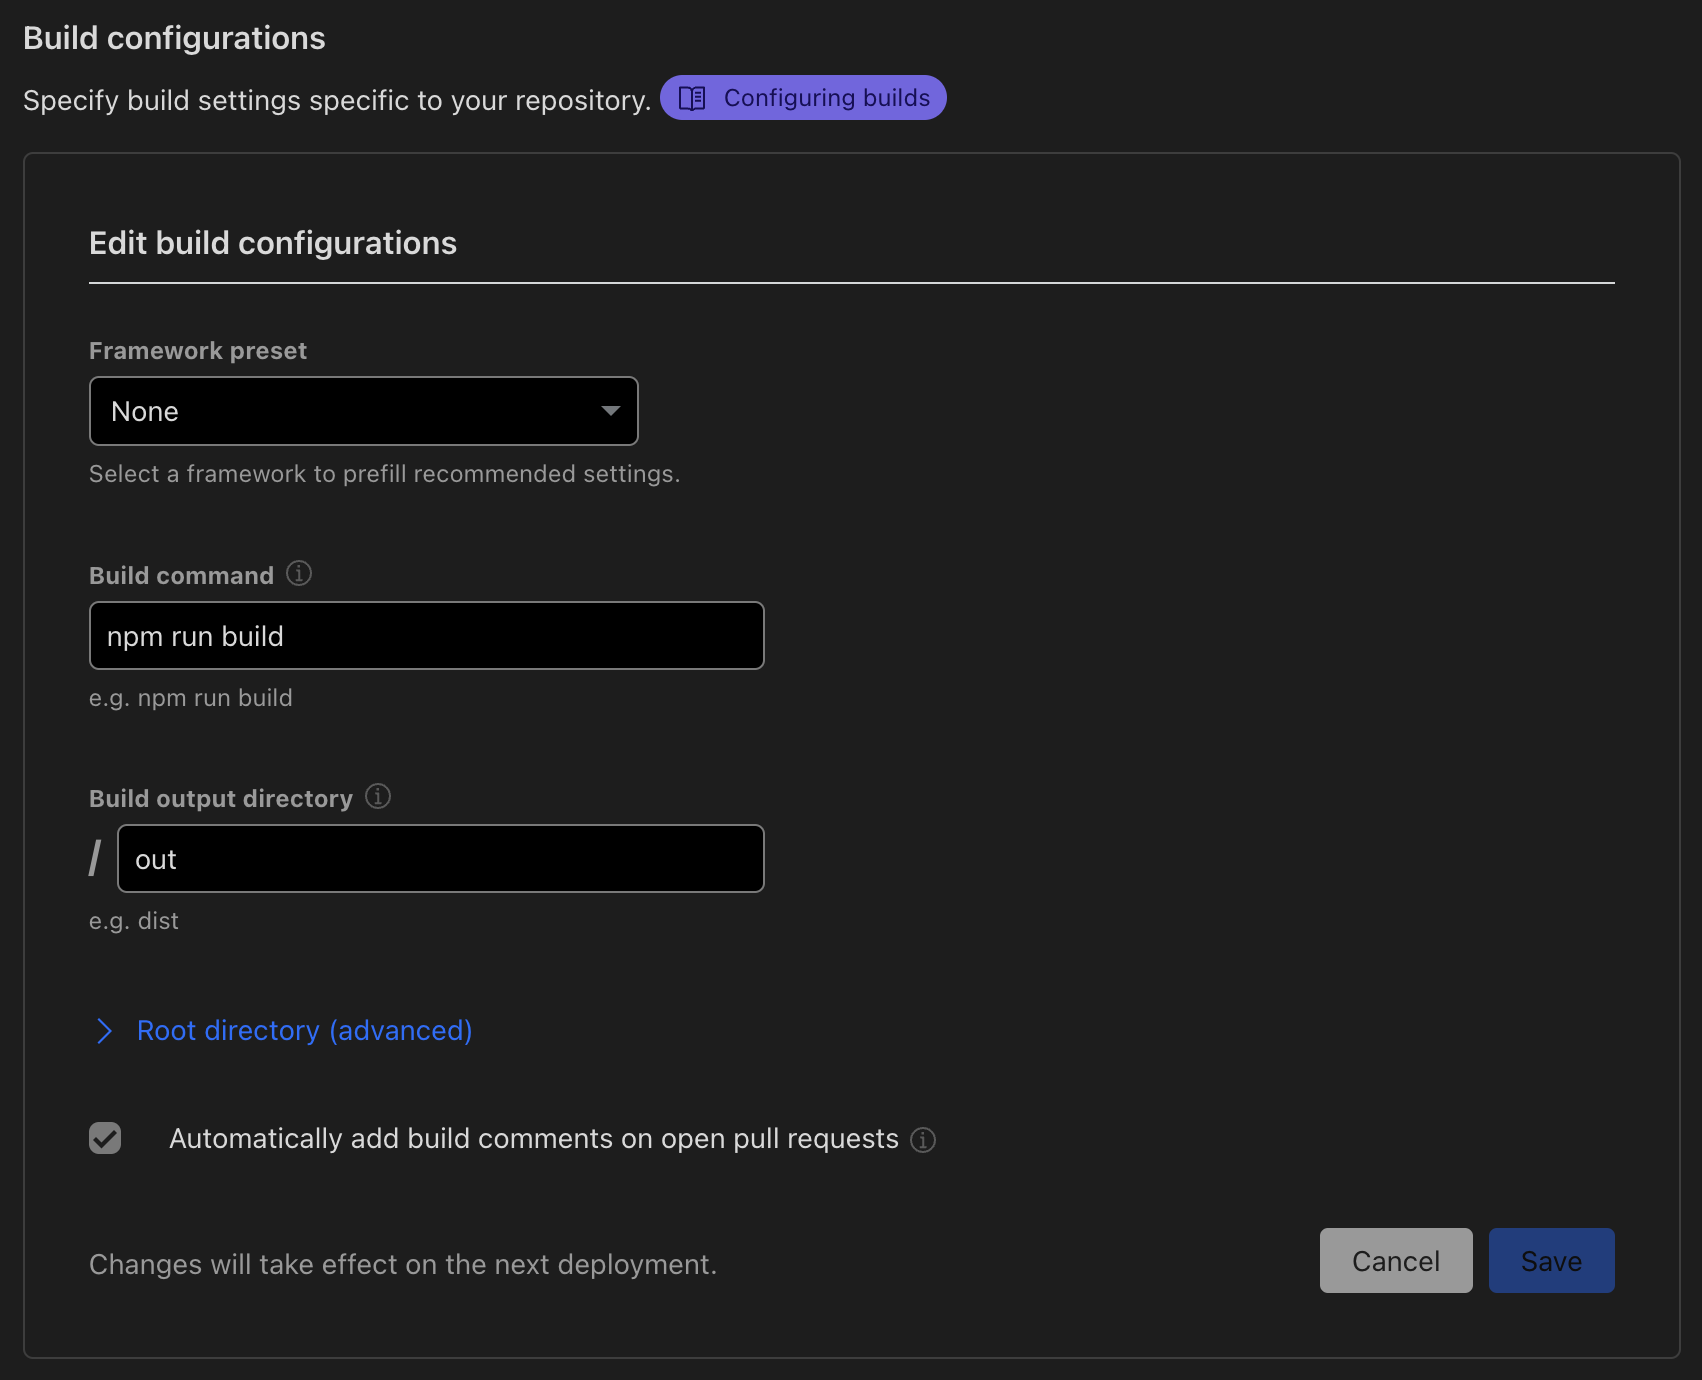
Your website settings can be changed anytime including the build configurations.
-
Once you're happy with the settings, click "Save and Deploy" to kickstart the deployment process.
Cloudflare Pages will initiate the deployment process, pulling the code from your repository, building your Next.js application, and deploying it to the cloud. You can monitor the progress and see the build logs in the Cloudflare Pages dashboard.
And that's it! No fuss, no muss, no extra packages, scripts, or configuration files. Once the deployment process wraps up, you can browse your website. If you need more information, CloudFlare has an excellent and detailed guide.
From my point of view, using Cloudflare Pages is a win-win. It's easy to set up, naturally fast, and offers customization options that are just the cherry on top.